You might not think it but the kitchen is the most used room in any house. No matter how many people are living in the house or what their schedules are, everyone has to eat. So when it comes to either preparing meals or even cleaning up afterward if you brought takeaway, you will always be using the kitchen a lot on a given day.
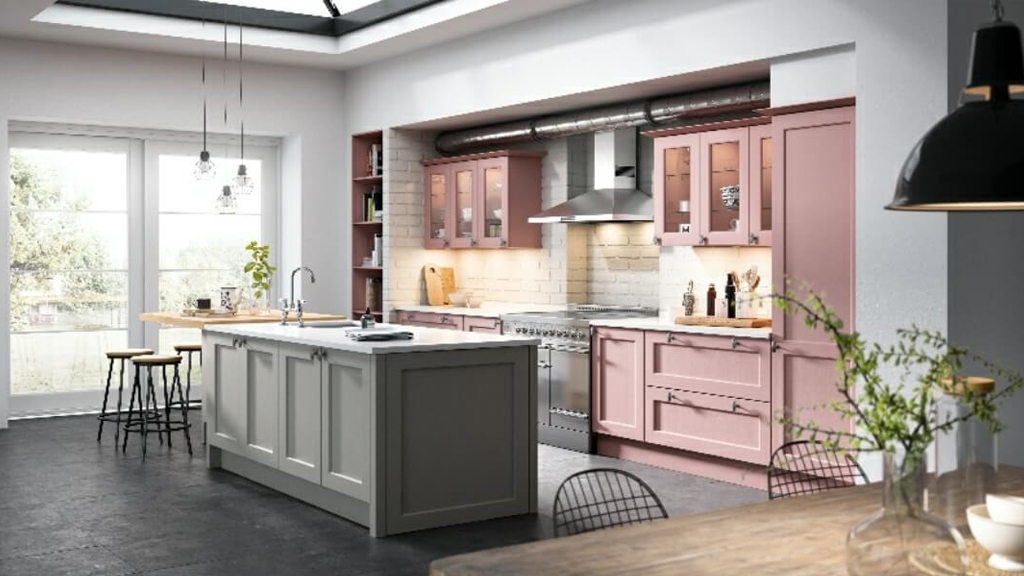
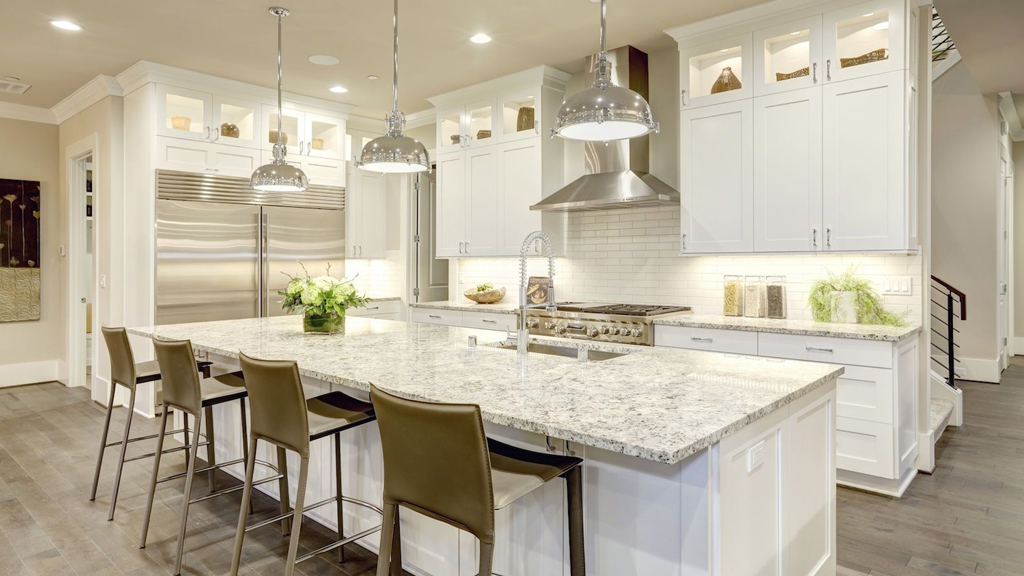
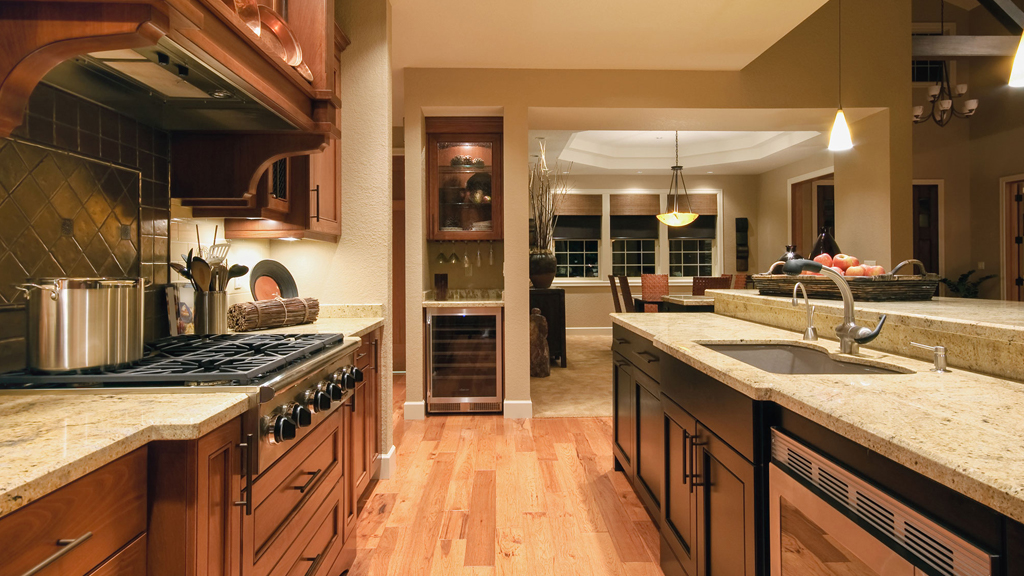
This is why adding a kitchen island to your kitchen can help your kitchen function more efficiently and more productively. A kitchen island will add lots of storage as well as countertop space and it will be an extra area to sit around too. In this article, we discuss how to plan out and going through with adding a new kitchen island and hope that you will be able to get some insights on how to do it yourself.
Plan your Kitchen Island
You need to have a solid plan before you go and construct your kitchen island. This will solely depend on what sort of benefit you are planning to get out of it.
One of the main deciding factors when it comes to this is if you are shifting major kitchen functionality over to the island. This can include adding a sink to the island or some outlets or even shifting some main kitchen appliances.
if you are going for something like that you are going to need an electrician or plumber to get their opinion on if such a drastic change can be accommodated. You might actually need their services to do the heavy lifting first before you can build your island.
If you are not planning on shifting such an important item to your new island and plan to keep it as an extra space, then you will have to decide if you are going to use that extra space for storage purposes. If that is the case you will want to figure out what you are going to store there. If you want to keep the island countertop space free, then storing items on the sides, hanging them using hooks, or sliding them into rails is a good way to go. You can easily store pots, pans, and their lids as well that way. You can also use shelves to store items like plates or cutlery. If there are some items that you would typically want to hide away in your kitchen then you might like to add some cabinets to the base of your island.
If you would like the option of keeping your kitchen island mobile, able to move it around as you see fit you might want to add some wheels to the base and not permanently secure it to the floor.
If you want your family to sit around the kitchen island when having meals etc. make sure to leave an overhang of around 12 inches around the countertop. This way you can easily slide the seats underneath the overhang when not in use.
Also, remember to keep at least 36 to 48 inches of space around the island so that you can traverse the kitchen without bumping into any obstruction of either the island or the surrounding kitchen items. Also, keep in mind to see if whether the new island will not obstruct the functionality of existing kitchen items such as cabinet and refrigerator doors.
Go for a Ready-made one or Build Your Own?
Even if you are fully enthusiastic about building your kitchen island it would be prudent to take a look at pre-made islands available at home construction depots & other home improvement malls. There you can find ones from basic stainless steel models to more extensive wooden builds that have storage cabinets & drawers. The prices for these can range from as little as $100 right up to $1,000. You can find the price of the model that you would like to have in your kitchen and compare that with the amount that you will have to spend building one. This will give you an idea of if it is feasible to build your own when a purchasing option is available.
Building your own DIY Kitchen Island
By building your own kitchen island you will be able to get something that meets your exact requirements as well the size and specifications offered by your kitchen. Plus the satisfaction you get from using something you build by yourself is much greater than when using something you buy.
1) Select your Countertop
The most basic kitchen island that you can go for is a simple table and as in any table, or any other surface associated with the kitchen, you need to decide on what you are going to use as the countertop. There are near infinite choices when it comes to countertops. As a start you can use plywood, afterwards, you can seal it & paint over it. Or you can use a laminate or stone countertop installed over it. If you want you can install tiles right over the plywood. If you are okay with a plainer easy to clean look you can go for a stainless-steel top.
One of the best ways to keep the cost down is to visit either a lumberyard or stone warehouse close to your place and see if whether they have leftover pieces from a larger project that will suit your countertop perfectly. They will be willing to part with them for a much cheaper price. Another trick that you can use is to save some money is to go to some home supply depots and get a ready-made solid-wood door. This can be sealed and put on its side to create a nice countertop.
2) Construct the Apron and fix it to the Countertop
An Apron is just a box that your countertop will be fixed on to. It is usually about an inch smaller around the perimeter of your countertop and can be build using 2x4s. Once you have built it, fix the countertop on top of it by using a combination of screws and adhesive.
3) Fix the Legs onto the Apron
For the legs use 4x4s. First, get an idea of the height of the entire island once it’s finished. You will have to consider the height of the countertop and apron as well as the height of the castors if your island is a mobile one before you cut the 4x4s. Once you have the four sturdy legs, attach them to the bottom of the apron.
4) Finishing Up Once all the heavy work is done flip the structureover and position it where you want it in your kitchen. Now you can go ahead with the finishing part where you can attach the hooks and rails for storing pots and lids and you can also attach the shelves securely. Once you have all that done you can move the island to its final resting place. If it is going to be a solid structure, you can now use a drill and heavy-duty screws to fix it firmly into position on the floor.
We hope that this article has helped you infiguring out how to go about getting your very own kitchen island into your kitchen. Keep following our page for more home improvement tricks and advice.